4.4 KiB
Up and running in 10 minutes!
LibreTime is quick and easy to install and get running. Follow this guide to go from zero to full internet radio station in 10 minutes!
Prerequisites
- minimum 1 Ghz Processor, 2 GB RAM, and a wired ethernet connection
- Ubuntu Server 18.04 LTS on bare-metal or cloud VM
- git, ntp installed and configured with the correct localization
Preparing the server
Configure the server to have a static IP address by modifying the Netplan configuration.
cd /etc/netplan && ls  # find the netplan filename
sudo nano ##-netcfg.yaml
If the Netplan configuration is empty, fill in the file with the example below. Otherwise,
input the IP address reserved for the server in xxx.xxx.xxx.xxx/yy format, the gateway (the IP address
of your router), and the DNS nameserver. If you don't have a nameserver on your network,
feel free to use Cloudflare's: 1.1.1.1 and 1.0.0.1.
network:
  version: 2
  renderer: networkd
  ethernets:
    enp3s0:
      addresses: [192.168.88.8/24]
      gateway4: 192.168.88.1
      nameservers:
        search: [lan]
        addresses: 192.168.88.1
Next, configure Ubuntu's firewall by running:
sudo ufw enable
sudo ufw allow 80/tcp
sudo ufw allow 8000/tcp
Installing LibreTime
This part is suprisingly easy. Just enter these commands in the terminal:
git clone https://github.com/LibreTime/libretime.git
sudo ./libretime/install -fiap
After the install is completed, head to localhost
to complete the installation wizard. You don't have to change any passwords immediately if you
don't want to, although it is strongly recommended if you plan to attach the server to a domain
that would allow you to access it from ourside your station's network. You will need to enter
a few commands in the terminal, but don't worry, the guide will walk you through it.
Scheduling your first show
Log in using your username and password using the link in the upper right corner. (If you just installed LibreTime, your username/password is admin/admin.)
The main workflow in LibreTime is Upload media -> create a show on the Calendar -> Schedule Tracks.
Once you log in, click on the big blue button on the left navigation that says Upload.
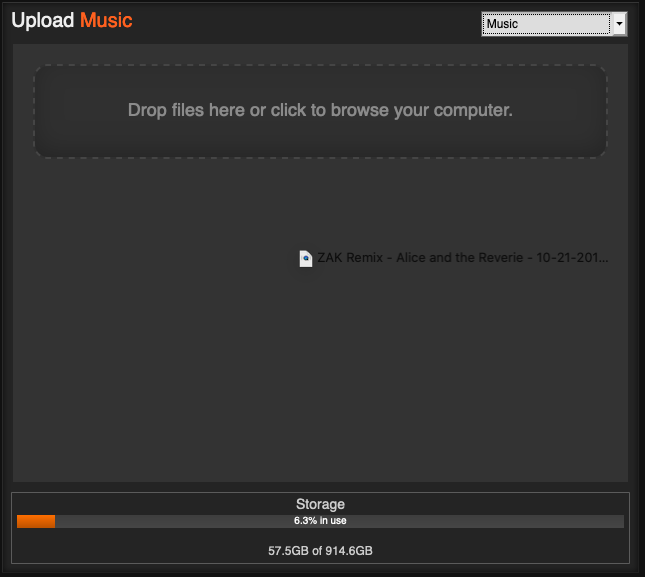
Select the type of media you are uploading (Music, Station IDs, etc.) by using the dropdown box at the top of the pane. After that, either drag and drop media into the area below or click the dashed rectangle to open a file browser.
Once your files have uploaded and have been successfully imported (as shown in the pane on the right), click on Calendar on the left navigation.
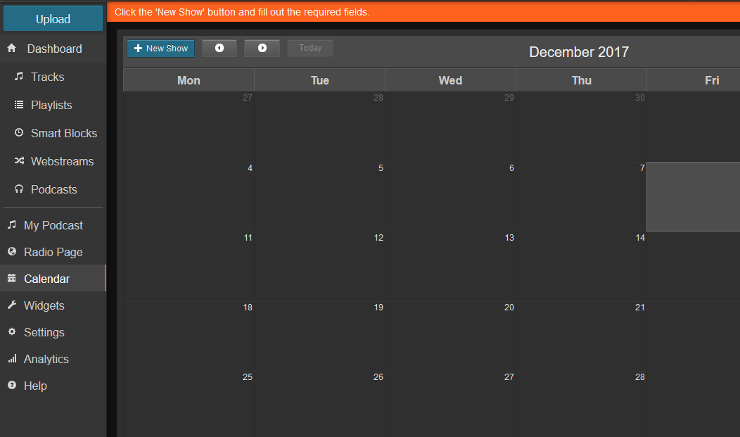
Click on the blue + New Show button to add a new show.
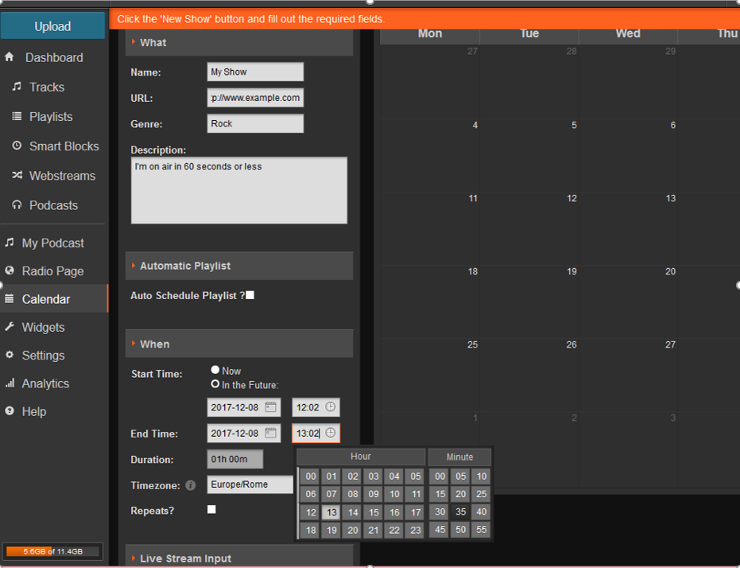
At the very minimum, fill out the show's name and when the show will take place. If the show will repeat regularly, check the Repeats? box and fill out the repeat information. Click on the grey + Add this show button at the top of the pane to add your show to the calendar.
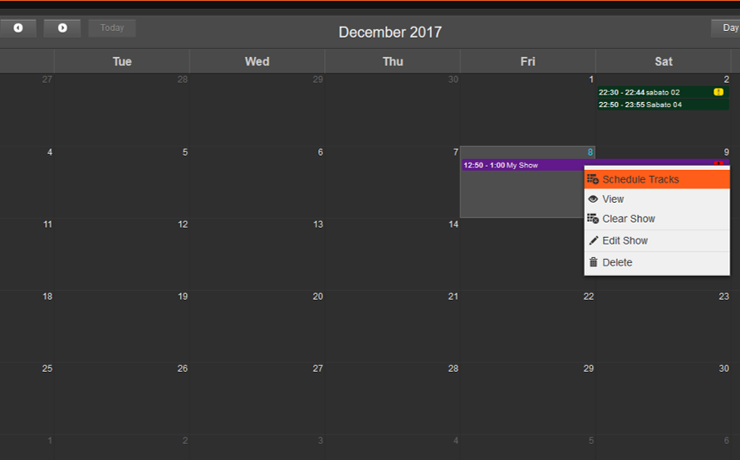
Once your show is created, click on it to open its context menu. Select Schedule Tracks to open the track scheduler.
The track scheduler behaves similar to iTunes or Windows Media Player: media browser on the left, playlist on the right. Find the tracks that you'd like to schedule by using the search box or sorting columns and then drag them into the playlist.
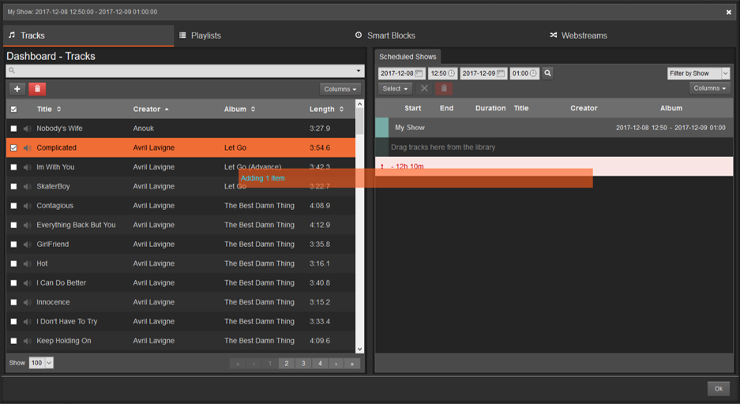
Keep in mind the bar at the end of your show's playlist. It will show the amount of time your show is under- or overscheduled. Shows that are underscheduled will have dead air at the end and shows that are overscheduled will fade out exactly when the show is over (the orange colored entry), meaning tracks scheduled to start after this point will not play (dark red colored entries). Click the Ok button in the bottom right to save.
Show playback will start and end as per each show's start and end times, allowing you to rely completely on LibreTime for running your station or using LibreTime as a part of your live setup to cover when DJs are not present. When media is playing back, the On Air indicator at the top will turn red.
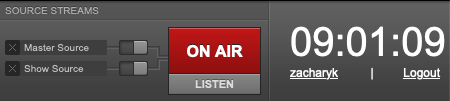
You can listen to your stream by going to localhost:8000 or by clicking the Listen button under the On Air
indicator. Congratulations! You've successfully set up LibreTime! We're so proud of you. :)